Refer to how to add NX-OXv 9000 to GNS3
1. Download image files
Here is the NX-OSv9k image file from Cisco (nxosv-final.7.0.3.I5.1.qcow2). Please note that you must have a service contract with Cisco in order to download it.
No I can’t provide the image to anyone.
2. Copy image to eve(UNL)
change file name to ‘hda.qcow2’
copy source file to ‘/opt/unetlab/addons/qemu/nxosv9k-7.0.3.I5.1’
run
/opt/unetlab/wrappers/unl_wrapper -a fixpermissions
3. Add a New node for nxosv9k
Copy the php file to ‘/opt/unetlab/html/templates/’
Change the Console type to ‘telnet’
4. Start the node
Note: Change the Console to ’telnet’ before you start the node.
This step needs your patient because the terminal will be shown as a blank screen for a while(about 15 – 20 seconds). The boot process takes about minutes, then it will prompt you:
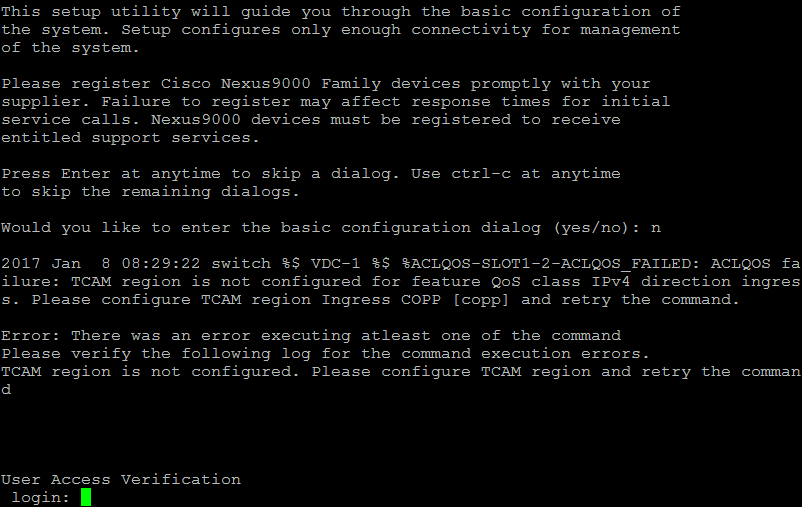
Abort Auto Provisioning and continue with normal setup ?(yes/no)[n]: y
5. Done
The advantage of eve is it already improved Qemu with UEFI for Cisco Nexus9Kv. More info:
Refer to the files in /opt/unetlab/html/templates for hda folder name
Refer to the specified file in /opt/unetlab/html/templates for hda file name
E.g.: You could learn that ‘nxosv-final.7.0.3.I5.1.qcow2’ should be changed to ‘hda.qcow2’ from file : nxosv9k.php
Comment from Sergey for reloading issue
There is a known issue about Nexus reload/shut down:http://www.cisco.com/c/en/us/td/docs/switches/datacenter/nexus9000/sw/7-x/nx-osv/configuration/guide/b_NX-OSv_9000/b_NX-OSv_9000_chapter_010.html
How to prevent VM from dropping into “loader >” prompt
As soon as you set up your NX-OSv 9000 (following set up of POAP interface), you need to configure the boot image in your system to avoid dropping to the “loader >” prompt after reload/shut down. Example:
config t
boot nxos n9000-dk9.7.0.3.I2.0.454.bin
copy running starting
Scan the QR code using WeChat